May 10, 2024
Picture Perfect
Building your portfolio with professional photography and DIY techniques
BY KARINA SINCLAIR
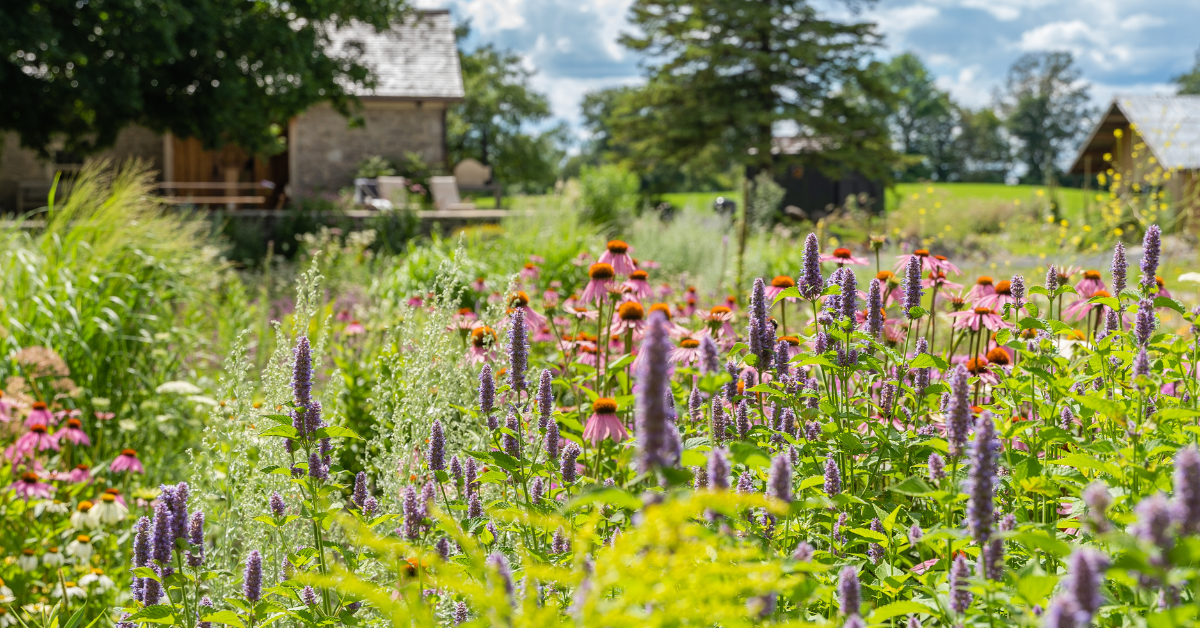
At Landscape Trades, we love gazing at photos of professionally designed, installed and maintained landscapes (second only to being invited for a guided tour of said landscapes). Building a portfolio of gorgeous photos is one of the most convenient ways to demonstrate your skills to potential clients year-round. These photos are essential for your website, awards entries, social media posts and digital marketing campaigns.
There are two ways to gather photos of your projects: hire a professional photographer or do it yourself. Both methods have their advantages, so read on to learn when and how to get the shots you need.
Professional photographers
Just like expert landscapers, professional photographers have a critical set of skills learned through training, experience and mastery over their specialized equipment. If you’d rather not fuss with f-stops, bring in a pro to save time and get perfectly composed and edited visuals of your projects. Ask for high-resolution jpegs (300 dpi) that can be used for print, as well as low-resolution versions (72 dpi) that are better suited to websites.
- Research and choose carefully: Select a professional photographer with experience specifically in landscape photography. Look for portfolios that showcase their ability to capture the essence and beauty of outdoor spaces. Ask for references or seek word-of-mouth recommendations from your industry peers.
- Communicate your vision: Work with your photographer to explore how the photos will be used to best represent your work. Determine where they’ll be displayed, such as on a website, in narrow ad banners or in vertical social media posts. Then discuss details about the desired mood, key elements to highlight, what to avoid and any specific shots you have in mind.
- Scout locations together: Before the photo shoot, visit the landscape together to identify the best angles, lighting conditions and perspectives. Discuss potential challenges and brainstorm solutions to overcome them. Don’t forget to get permission from property owners and consider how to maintain their privacy in the final photos.
- Consider timing and lighting: Before the shoot, send a crew to remove dead plants, sweep patios and generally spruce up the area. Then schedule the photo shoot during the golden hours of early morning or late afternoon when the lighting is soft and warm to create stunning visuals. Be ready to adapt to changing weather conditions for the best possible shots.
- Trust the photographer's expertise: While it's essential to provide guidance and feedback, trust the photographer's expertise and artistic vision, just like you’d ask property owners to trust you. Allow the photographer creative freedom to experiment and capture unique perspectives that enhance the beauty of the landscape project.
Do it yourself
Whether you collaborate with a professional photographer or not, there are plenty of opportunities and reasons to get your camera out before, during and after each project. Collect “before” shots to compare with “after” the transformation to demonstrate how far you’ve come. And, with permission, get photos of your team working together. These can be used on your website or social media to demonstrate your company values and culture.
- Understand basic photography principles: Familiarize yourself with basic photography principles such as composition, lighting and perspective. This will help you capture more visually appealing photos of landscape projects. Take a look at what your peers have posted, especially those who have won awards for their work.
- Use natural light: Take advantage of natural light by shooting during the golden hours of sunrise or sunset. Soft, warm light enhances the beauty of outdoor landscapes and adds depth to your photos. This also helps avoid harsh contrast or washed out colours from midday sun.
- Experiment with angles and perspectives: Get creative with angles and perspectives to capture unique and compelling shots. Shoot wide and high to establish the scale of the project. Then get medium and closeup shots to show detail. Changing angles can also help avoid undesired elements and maintain privacy.
- Steady yourself: Invest in a sturdy tripod to stabilize your camera and minimize camera shake, especially in low light conditions. A stable camera ensures sharper images and allows for longer exposure times if needed. If you must shoot handheld, brace against a solid structure, hold your camera with both hands, tuck your elbows in close and breathe slowly.
- Edit with restraint: Use basic editing tools to further enhance your images. Lightly adjust brightness, contrast and saturation to improve the overall look while maintaining a natural appearance — be careful not to overdo it or it will look fake and “photoshopped.” You can also crop or fix tilted horizon lines to improve the overall composition.
Whether you choose to hire a pro, do it yourself or a combination of both, capturing photos of your work empowers you with enticing images that can support sales, marketing and even boost team morale.